Woodland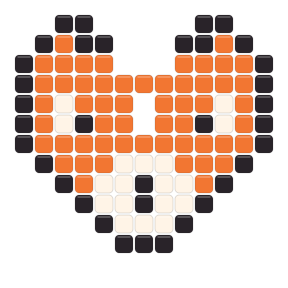
Sitting Bright Fox
A seated orange fox pairs black-tipped ears, two bright eye glints, a white bib, pink cheeks, four dark foot blocks and a raised white-tipped tail.
Open and recolor →20 editable grids · no UGC
Looking for free animal Perler bead patterns you can edit and print? This gallery has 20 animal bead patterns—foxes, pandas, ocean creatures and more—each ready to open, recolor, export and print with real bead counts. All 20 current animal charts are labeled as traceable reference rebuilds rather than original mybeadpattern designs. Their source pages, selected candidate positions and image identifiers are recorded for review.
The complete collection
These editable animal designs show exact bead and color counts before you open them. Use the difficulty label to compare color changes and silhouette cleanup—not age or skill requirements. Most grids fit one standard square board; the 30×30 Red Panda uses connected boards.
A seated orange fox pairs black-tipped ears, two bright eye glints, a white bib, pink cheeks, four dark foot blocks and a raised white-tipped tail.
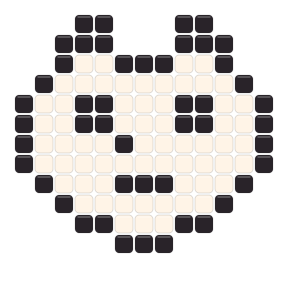
Open and recolor →A large seated panda holds a stepped pink heart beneath cream cheeks, paired black eye patches, white eye glints, rounded ears and a grounded two-foot silhouette.
Open and recolor →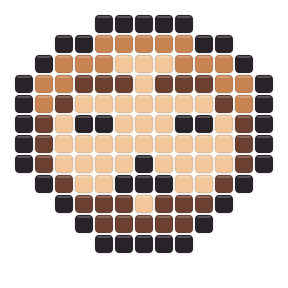
A drowsy front-facing sloth pairs a layered brown eye mask, broad cream center, tiny light-tan highlights, a stepped pink chest heart and a long black base.
Open and recolor →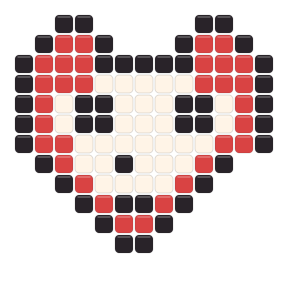
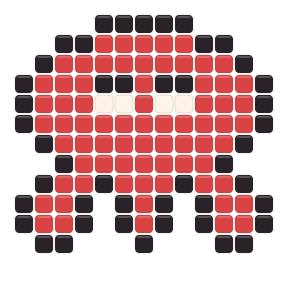
Wide cream-lined ears, bright brows, a compact white muzzle, rust paws and a bold curled tail make this seated red panda readable even as a small preview.
Open and recolor →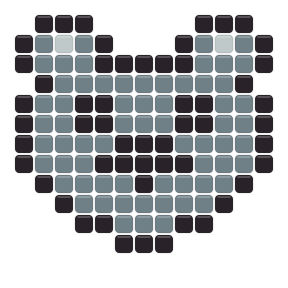
A wide seated koala frames two white eye glints, twin ivory muzzle panels, rounded ears, a 42-bead pink heart and a sixteen-cell grounded baseline.
Open and recolor →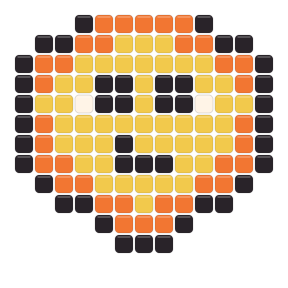
A compact lion head uses a split burnt-orange crown, tawny ears, two peach highlights, paired black eyes, a white-and-brown muzzle and a three-bead mane tip.
Open and recolor →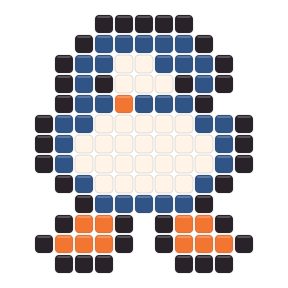
A full-body little penguin combines a stepped navy headpiece with white eye circles, a bright-blue forehead bridge and jacket panels, an orange bill and feet, two flippers and a grounded black base.
Open and recolor →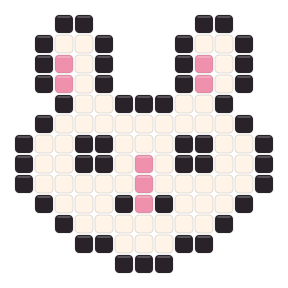
A left-facing white bunny stretches two decorated ears to the right, combining three pink accents, lavender-violet shading, a rounded seated body, small tail and eleven-cell base.
Open and recolor →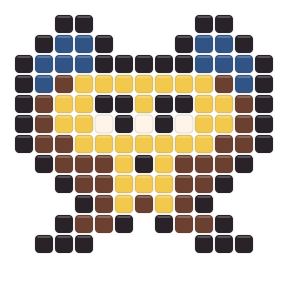
A rounded full-body owl with black ear tufts, layered brown wings, a white facial mask, dark eye wells, a golden beak, grey breast markings and visible feet.
Open and recolor →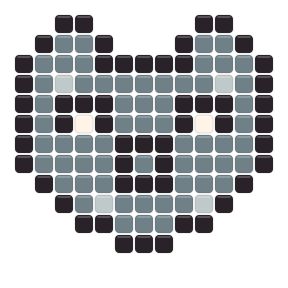
A perfectly mirrored 22×22 raccoon portrait pairs cyan fur with off-white ears, eye glints, cheeks, and muzzle blocks. A charcoal mask closes around two bright eyes, while a two-column cyan forehead stripe runs into a compact dark nose tip.
Open and recolor →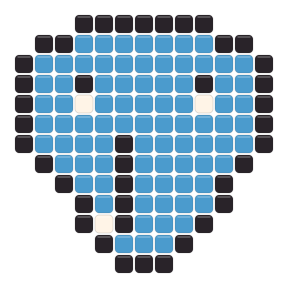
A long, low 27×15 baby elephant spans the full width of a 27×27 board. Its curled left trunk, central head-to-body divider, tiny two-bead pink cheek, two grounded feet, and right-edge tail detail stay intact inside six blank rows above and below.
Open and recolor →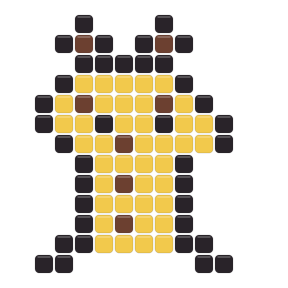
A 71-bead left-facing giraffe fits a 14×14 chart with one blank column on the left and two on the right. A single horn, brown ears and mane, one black eye, one pink muzzle bead, a raised tail, and separated feet preserve the photo’s compact pose.
Open and recolor →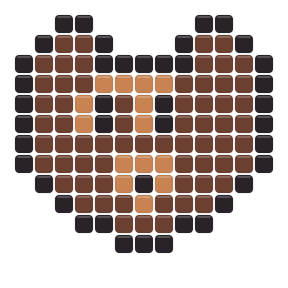
A warm three-brown bear combines paired ear crowns, light inner ears, a compact muzzle, outstretched dark arms, a tan belly and two separated feet.
Open and recolor →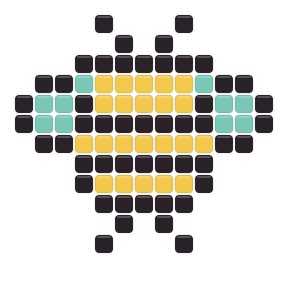
A front-facing garden bee pairs cream wings, twin antennae, a yellow face with three pink accents, a dark body stripe, a pale abdomen band and a short centered stinger.
Open and recolor →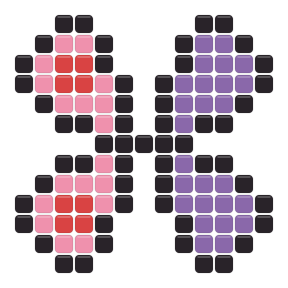
A wide monarch-style butterfly uses black wing scaffolding, deep magenta and coral marks, gold spots, paired white highlight chains, two lower lobes and a narrow central tail.
Open and recolor →This octopus chart preserves a rounded mantle, four violet facial points, peach suction highlights and eight uneven curling arms rather than reducing the animal to a circular emoji.
Open and recolor →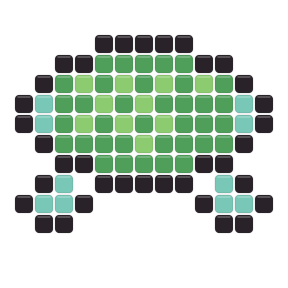
This side-facing sea turtle keeps a lime-rimmed patterned carapace, dark interior scales, sandy lower seam, four flippers, compact head and one black eye from the approved fused reference.
Open and recolor →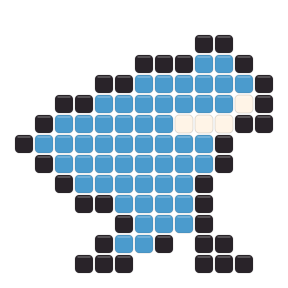
A sweeping dolphin fills nearly the entire thirty-cell frame with a navy perimeter, ocean-blue dorsum and broad white underside, retaining the lifted beak, dorsal fin and forked tail.
Open and recolor →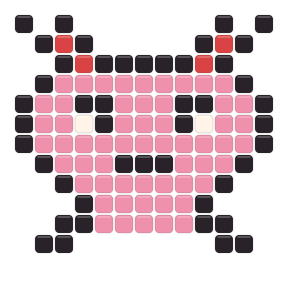
Six feathery magenta gill fans frame a wide smiling head, while a spotted pink torso and narrow tapering tail keep this full-body axolotl recognizable at thumbnail size.
Open and recolor →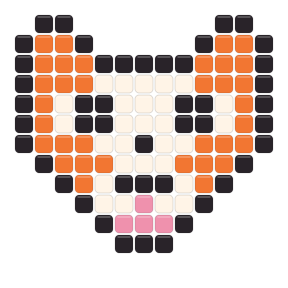
The rebuilt corgi is a full seated dog with upright pink-lined ears, orange-and-cream forehead panels, paired eyes, a central two-by-two nose, white chest, side tail and grounded paws.
Open and recolor →Find the right first project
The best pattern is not always the one with the fewest beads. Look at silhouette, number of colors and how many small details you want to preserve.
Foxes, pandas, bears and penguins use strong outer shapes and large color regions, which makes the next bead position easier to verify. A symmetrical face also provides a visual check while building: if one ear or cheek drifts, compare it with the opposite side before continuing. Designs with two or three high-contrast colors are useful when you want fewer material changes.
Two shades that look distinct in the palette may be difficult to tell apart on a printed guide. Pick a design with clear light, middle and dark values, or turn on symbols and color codes before export. You can replace one close shade in the editor while keeping the outline and eyes high contrast. Check the updated material list after every recolor.
Most designs use compact square grids that fit one standard board, so they work naturally as magnets, ornaments, garlands or a framed group. The 30×30 Red Panda is the larger exception and uses connected boards. Reuse a small background palette across several animals, then preserve each animal’s defining marks—such as panda patches, giraffe spots or axolotl gills.
Before you iron
Start with the animal whose silhouette you can recognize without reading its name. Strong ears, tails, wings and face markings make a small pattern easier to follow and more satisfying when finished. Most listed grids stay within one standard 29×29 square pegboard; Red Panda is 30×30 and crosses onto connected boards.
Click a pattern to load its exact grid into the editor. The source colors are then mapped to the selected bead brand. You can keep that mapping, switch between Perler, Hama, Artkal A, Nabbi and Mard, or open My bead box and remove colors you do not own. When two shades look too similar, turn on color codes or symbols before exporting.
Before placing beads, sort the listed colors into separate containers and confirm that you have more than the exact count for each shade. Begin with the outline or another distinctive anchor, then work in small sections instead of completing long loose rows. Compare the board with the guide after every few rows so a one-cell shift does not continue across the whole animal.
For a cleaner result, place the dark outline first and work inward by color. Compare the material list with your bead supply before beginning. If you recolor the design, keep the eyes and outer silhouette high contrast; those few cells usually carry most of the animal’s expression. Print at normal guide size for reference, or choose true bead size and verify the 50 mm scale bar before using the sheet under a board.
Collection details
The collection of animal Perler bead patterns currently contains 0 original grids and 20 traceable reference rebuilds. mybeadpattern publishes checked grids and generated editor assets, while the source records document reconstruction input only; they do not grant endorsement, ownership of the source artwork or commercial permission.
Yes. Open any pattern in the editor to switch bead brands, paint or erase cells, use only colors in your bead box, and export a new guide.
Most do. Red Panda uses a 30×30 grid, so it needs connected boards rather than one standard 29×29 board.
Yes. Use the photo to Perler bead pattern converter, choose a close crop, and edit the eyes and silhouette after conversion.