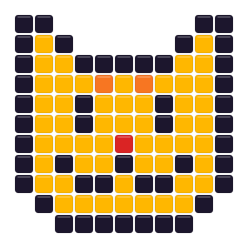
 Sitting Black CatOpen in this editor →
Hama · 80 planning colors · 5 mm
Free Hama Bead Pattern Maker
Build a Hama pattern around the 80-color planning chart, H reference codes, and a 29 × 29 Midi-board workflow. Keep only the colors you own before you print.
Drop a photo here
or paste one from the clipboard — your source image stays on this device
- ✓ No signup or watermark
- ✓ Source photos stay local
- ✓ Use only colors you own
No picture handy? Start with one of these:
- 80community-maintained planning colors
- 5 mmplanning pitch for Midi beads
- 29 × 29standard square-board preset
Try a ready-made bead pattern
Choose a design from either collection. It opens in this page’s editor and stays fully editable after its colors are matched to the active bead palette.
Small patterns
View all small patterns →
Sitting Black CatOpen in this editor →
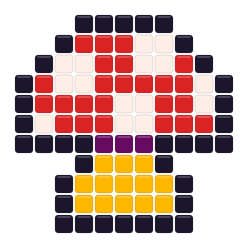 Red MushroomOpen in this editor →
Animal patterns
View all animal patterns →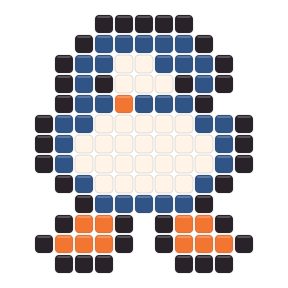
Read the Hama codes before you build
The editor carries the same stored H reference through the swatch, grid label, and materials list, so a color decision stays traceable after export.
Find a shade
Search My bead box by H code or color name instead of scanning every swatch.
Keep the code visible
Turn on codes or symbols before export when neighboring shades look similar on paper.
Count against the plan
Use the materials list as the working quantity, then allow spare beads for handling and replacements.
Plan a 29 × 29 Hama board
Use the standard square-board preset as a physical boundary, not just a convenient image size.
Choose one-board scope
Start at 29 beads wide for a compact motif and inspect the calculated height before committing.
Reduce before retouching
Set Max colors and your owned Hama shades first; then repair outlines and faces bead by bead.
Export a placement guide
Print rulers, H codes or symbols and the materials list only after the grid fits the boards you will assemble.
A practical Hama project brief
Decide the physical build before asking the converter for detail.
For a one-board icon, crop the source to a clear subject and test a 29-bead width with a modest color cap. Check the calculated height, remove background decoration that would force extra boards, and keep H codes visible while you compare the preview with the colors in your box. This sequence makes the board boundary, rather than the source photo, the main design constraint.
For a larger portrait, choose the number of boards first and reserve the darkest and lightest Hama shades for features that affect recognition. Midtone changes that create only isolated beads can be merged before export. After the composition reads at fit view, print a coded draft, place it beside the physical stock, and resolve uncertain shades before sorting the full materials quantity.
Treat screen colors as planning references
The Hama values in this tool are community-maintained screen approximations. Displays, printers, lighting, bead finishes, and production lots can shift the physical result, so compare critical H codes with beads in hand before a large build.
When another maker may fit better
Stay with Hama when H codes and a familiar 5 mm, 29 × 29 plan match your stock. Compare only when the project constraint changes.
Choose Perler for the primary workflowUse the Perler maker when you want the site's broad beginner guidance, standard-board examples, and Perler planning chart.
Choose Nabbi for deliberate simplificationA focused 30-color planning palette can be useful when flat color and a short materials list matter more than subtle shading.
Hama pattern planning FAQ
Where do Hama reference codes appear?
Stored H codes appear in the searchable swatches, optional grid labels, materials list, and printable pattern sheet.
Should I start a Hama project at 29 beads wide?
Use 29 when one standard square board is the intended width. Wider presets can span multiple boards, while image height still follows the source ratio.
How do I use only the Hama colors in my box?
Open My bead box, deselect missing H codes, and regenerate before manual edits. Matching and counts then use only the selected planning colors.
Can I treat the displayed Hama colors as exact physical matches?
No. They are community-maintained screen approximations for planning; verify important shades with physical beads under your working light.
When is Hama a better fit than a larger palette?
Choose it when your stock is organized by H codes and a 5 mm, 29 × 29 workflow matters more than maximizing the number of candidate shades.