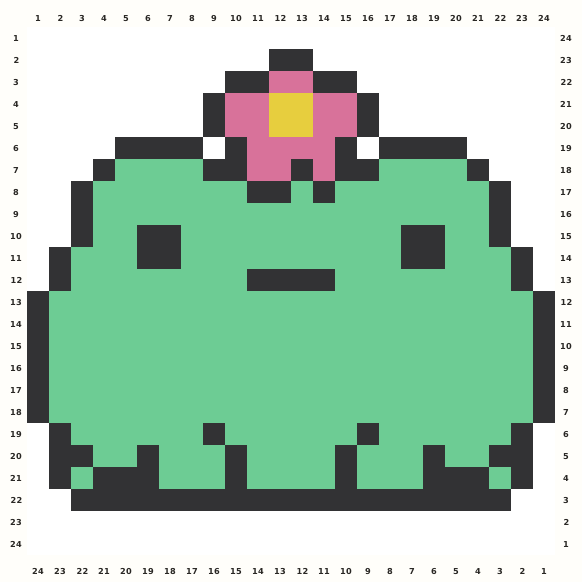
 Flower FrogOpen in this editor →
Free Perler Bead Pattern Maker
Turn a photo or pixel art into an editable, printable Perler bead pattern. Match real bead colors—including only the colors you own—then export a build-ready pattern sheet.
Drop a photo here
or paste one from the clipboard — your source image stays on this device
- ✓ No signup or watermark
- ✓ Source photos stay local
- ✓ Use only colors you own
No picture handy? Start with one of these:
- 102community-maintained planning colors
- 5 mmplanning pitch for true-size print
- 29 × 29standard square-board preset
Try a ready-made bead pattern
Choose a design from either collection. It opens in this page’s editor and stays fully editable after its colors are matched to the active bead palette.
Small patterns
View all small patterns →
Flower FrogOpen in this editor →
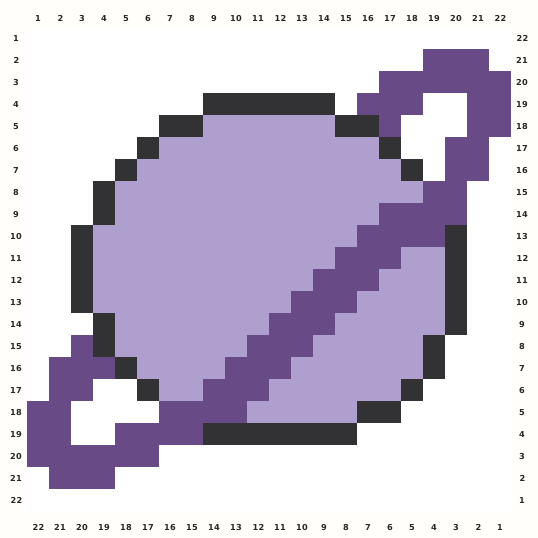 Ringed PlanetOpen in this editor →
Animal patterns
View all animal patterns →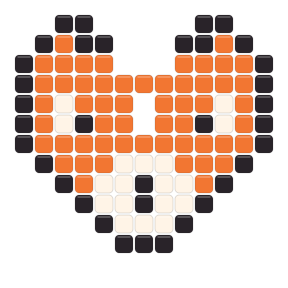
How to make a Perler bead pattern in four steps
1
Drop a picture in
Photo, screenshot, or existing pixel art — drag it in or paste it. It never leaves your browser.
2
Tune the look
Pick a style, set the width, cap the colors — and uncheck any bead color you don't own. The pattern updates live.
3
Fix any bead
Paint, erase, flood-fill and pick colors right on the board. Undo is unlimited-ish (100 steps), so experiment freely.
4
Print & iron
Grab the pattern sheet with rulers, codes or symbols, the shopping list, or print at true 5 mm bead size and build row by row.
Plan the physical Perler build before converting
Let board boundaries and the colors in your box shape the pattern before bead-level editing begins.
A 29-bead width is a useful starting boundary for one standard square board; 58 and 87 beads span two or three boards across. Height still follows the source image, so check the calculated horizontal and vertical board count rather than assuming a width preset guarantees a one-, two-, or three-board project. Crop empty background first, then choose the smallest grid that keeps the face, symbol, or silhouette recognizable.
The 102-color Perler planning palette is a candidate set, not a shopping requirement. Open My bead box before final generation, remove colors you do not own, and use Max colors to keep the materials list realistic. Regenerate with those constraints before painting individual beads, because later palette changes can remap corrections. Finish by checking clusters at fit view, then export codes or symbols, bead counts, board lines, and a true-size draft for the physical setup.
Choose a beginner Perler project that survives the grid
A simple source is not a lesser project; it gives each bead a clear job and makes the first build easier to verify.
Start with a strong silhouette
Icons, animals, simple objects, and bold pixel art stay recognizable after the image is reduced. Remove decorative backgrounds and tiny text that would become scattered beads or force a larger board layout.
Use a short color story
Begin with a small set of outline, fill, highlight, and accent colors. Add another Perler shade only when it preserves a feature you can see at normal viewing distance, not merely a slight change visible while zoomed in.
Build one stable section at a time
Keep board lines, rulers, codes, or symbols visible and work across connected color clusters. Stable groups are easier to count and correct than jumping between isolated one-bead colors throughout the pattern.
Print a rehearsal sheet
Before sorting every bead, print a draft, verify the 50 mm scale bar, compare uncertain planning colors with your physical Perler stock, and confirm that the planned boards fit the finished dimensions and workspace.
Two Perler planning examples from source to board
Use these decision sequences as starting points, then change the numbers to match your image, inventory, and finished size.
For a first one-board photo project, begin with a subject that has one clear face or shape and crop away most of the surroundings. Choose Photo mode, test 29 beads wide, and start near 10–14 colors instead of filling the available palette. Open My bead box and keep only Perler colors you can place today; then regenerate before touching the grid. Check whether the calculated height stays within one board, whether the eyes or central feature read at fit view, and whether any color appears only once without defining a useful edge. Merge those stray beads, repair the outline, and print a draft with board lines, codes or symbols, the 50 mm scale bar, and the materials count. Compare uncertain shades with the physical beads under your work light before you sort the full quantity.
For existing pixel art or a larger two-board design, preserve the source grid first instead of smoothing it as a photo. If the original sprite is too small, enlarge with a width that keeps hard edges and inspect how 58 beads across divides over two standard boards; the proportional height may still require a second row of boards. Decide whether the original color set maps cleanly to owned Perler shades, and replace unavailable colors by role—outline, main fill, shadow, highlight, accent—rather than by screen similarity alone. Remove isolated transition pixels that do not improve recognition, keep connected clusters intact across board seams, and enable symbols when neighboring planning colors are difficult to tell apart. Before final export, verify every board boundary, total finished dimensions, quantities per code, and the order in which sections will be assembled, joined, or ironed.
Review Perler inventory and board seams before export
The final planning pass connects the digital pattern to the colors, boards, pages, and working order you will use at the table.
Audit the materials list by code rather than by screen appearance. Confirm that every listed Perler planning color is selected in My bead box and available in enough quantity for its full count, then decide how much spare stock the project needs for dropped, damaged, or reheated beads. When a required code is short, choose a replacement that preserves its role in the image: an outline must still separate shapes, a highlight must remain lighter than its neighbors, and a shadow must not merge into the main fill. Regenerate after changing the owned set so totals, swatches, symbols, and the printed legend all describe the same grid. For close or important shades, place the physical candidates beside one another under the light used for assembly; a monitor match alone does not establish how the finished beads will look.
For a pattern crossing board seams, inspect where the 29 × 29 boundaries pass through the subject. A seam through a large flat area is usually easier to track than one through an eye, narrow outline, or tiny feature, so adjust the crop or width while the design is still flexible. Keep connected color clusters readable on both sides of each boundary and decide whether sections will be built separately, connected on compatible boards, or joined only after the placement and ironing plan has been reviewed. Print every page at the same scale, measure the 50 mm bar, label page order, and confirm that row and column coordinates continue correctly across tiles. Finally, compare the complete board footprint with the available workspace, ironing surface, and intended display area so a digitally valid grid does not become an impractical physical project.
Continue your Perler project
Choose a focused starting point when a blank converter is not the fastest route.
Start with a small patternOpen a compact design, load it into this editor, then recolor or resize it for a first board.
Browse editable animal patternsChoose an editor-ready animal chart with verified dimensions, bead counts, and a direct path into the same editor.
Prepare a photo conversionUse the photo-focused guide when cropping, contrast, grid width, and color limits matter more than drawing from scratch.
Perler bead pattern maker FAQ
How do I turn a photo into a Perler bead pattern?
Upload or paste a photo, choose Photo mode, set the pattern width and maximum colors, then edit any bead you want. When it is ready, export a printable sheet with grid coordinates, color codes or symbols, bead counts and a matching materials list.
Which bead brands does mybeadpattern support?
Perler (102 colors), Hama (80), Artkal A-series (145), Nabbi (30) and Mard 291-series (291) — 648 colors in total, each with a catalog identifier. On-screen colors are community-measured approximations. Switch brands any time; the pattern regenerates against the new chart.
How does “My bead box” work?
Open the panel and uncheck any color you don't own. Every generation then maps pixels only onto the checked colors, and the materials list only ever shows beads you already have. “Select all” brings everything back.
Photo mode vs. Pixel art mode — which do I pick?
Photo mode smoothly resamples pictures (camera shots, illustrations) to your chosen width and offers Cartoon, Classic and dithered Detail styles. Pixel art mode is for files that are already sprites: it starts at the source grid (a 32×32 icon becomes a 32×32 pattern) and resizes with crisp nearest-neighbor edges — never blurred, never dithered.
How big can patterns get?
The photo converter runs from 10 to 116 beads wide. Height follows the source image ratio, so faces and circles are never stretched. Presets 29, 58 and 87 match 1, 2 and 3 standard 29×29 Midi pegboards across; the materials panel shows the exact horizontal × vertical board layout and finished size in centimeters.
What does “print at real bead size” mean?
Your browser prints each cell at the brand's true pitch (5 mm for Perler/Hama/Artkal A/Nabbi, 2.6 mm for Mard 291). Use the 50 mm scale bar to verify, then lay the sheet under your board or ironing paper and place beads straight from the page.
Is it really free? Where do my photos go?
Free, no signup, no watermark. Source photos are converted in your browser and are never uploaded. Downloads and printing stay on your device. Color values are community-measured approximations, so double-check tricky shades against your physical beads.